
Pine & Pistachio Linzer Cookies

“I took a walk in the woods and came out taller than the trees.”
Henry David Thoreau
My favorite part of this recipe is that the first step involves a walk in the woods. Or maybe it’s just a walk around your neighborhood in search of a fallen pine branch. Either way it’s a chance to step outside, to breathe in the crisp winter air and know that it’s all in the name of cookies.
My cookie baking this year is loosely centered around a woodland theme. There will be peppermint marshmallow meringues, frosted sugar cookie Christmas trees, spiced cookies that resemble the interior of a freshly cut tree trunk, and minted gingerbread snowflakes. I even went so far as to try and locate a banana slug cookie cutter as here in the northwest it’s not a forest walk without encountering this creature. To reinforce the woodland theme further I wanted a cookie with a slight taste of trees.
In the spring I look forward to cooking with spring fir, spruce and pine tips. I’ve turned them into vinegars, pickles and have sprinkled them into salads when they are at their most verdant green. But only recently realized that these fragrant needles can be used all year long, in fact, I think winter is the ideal time for cooking with conifers. In fact many of you probably have an adorned edible conifer in your living room right now. Although this would negate the first step and my favorite part of this recipe; the walk in the woods. Just trim a small bit of a branch that is tucked against the wall. No one will notice.
With the amount of needles I listed here the pine scent is very faint so feel free to add more. When eating any sort of wild ingredient please make sure you are certain of the identity. Most varieties of pine, fir and spruce are edible. Please please please stay away from Yew which is highly poisonous. I say this not to frighten but to be sure you have an awareness of which trees you can and cannot consume. A simple app like Seek is a great resource for identifying a tree or plant species if you have doubts.
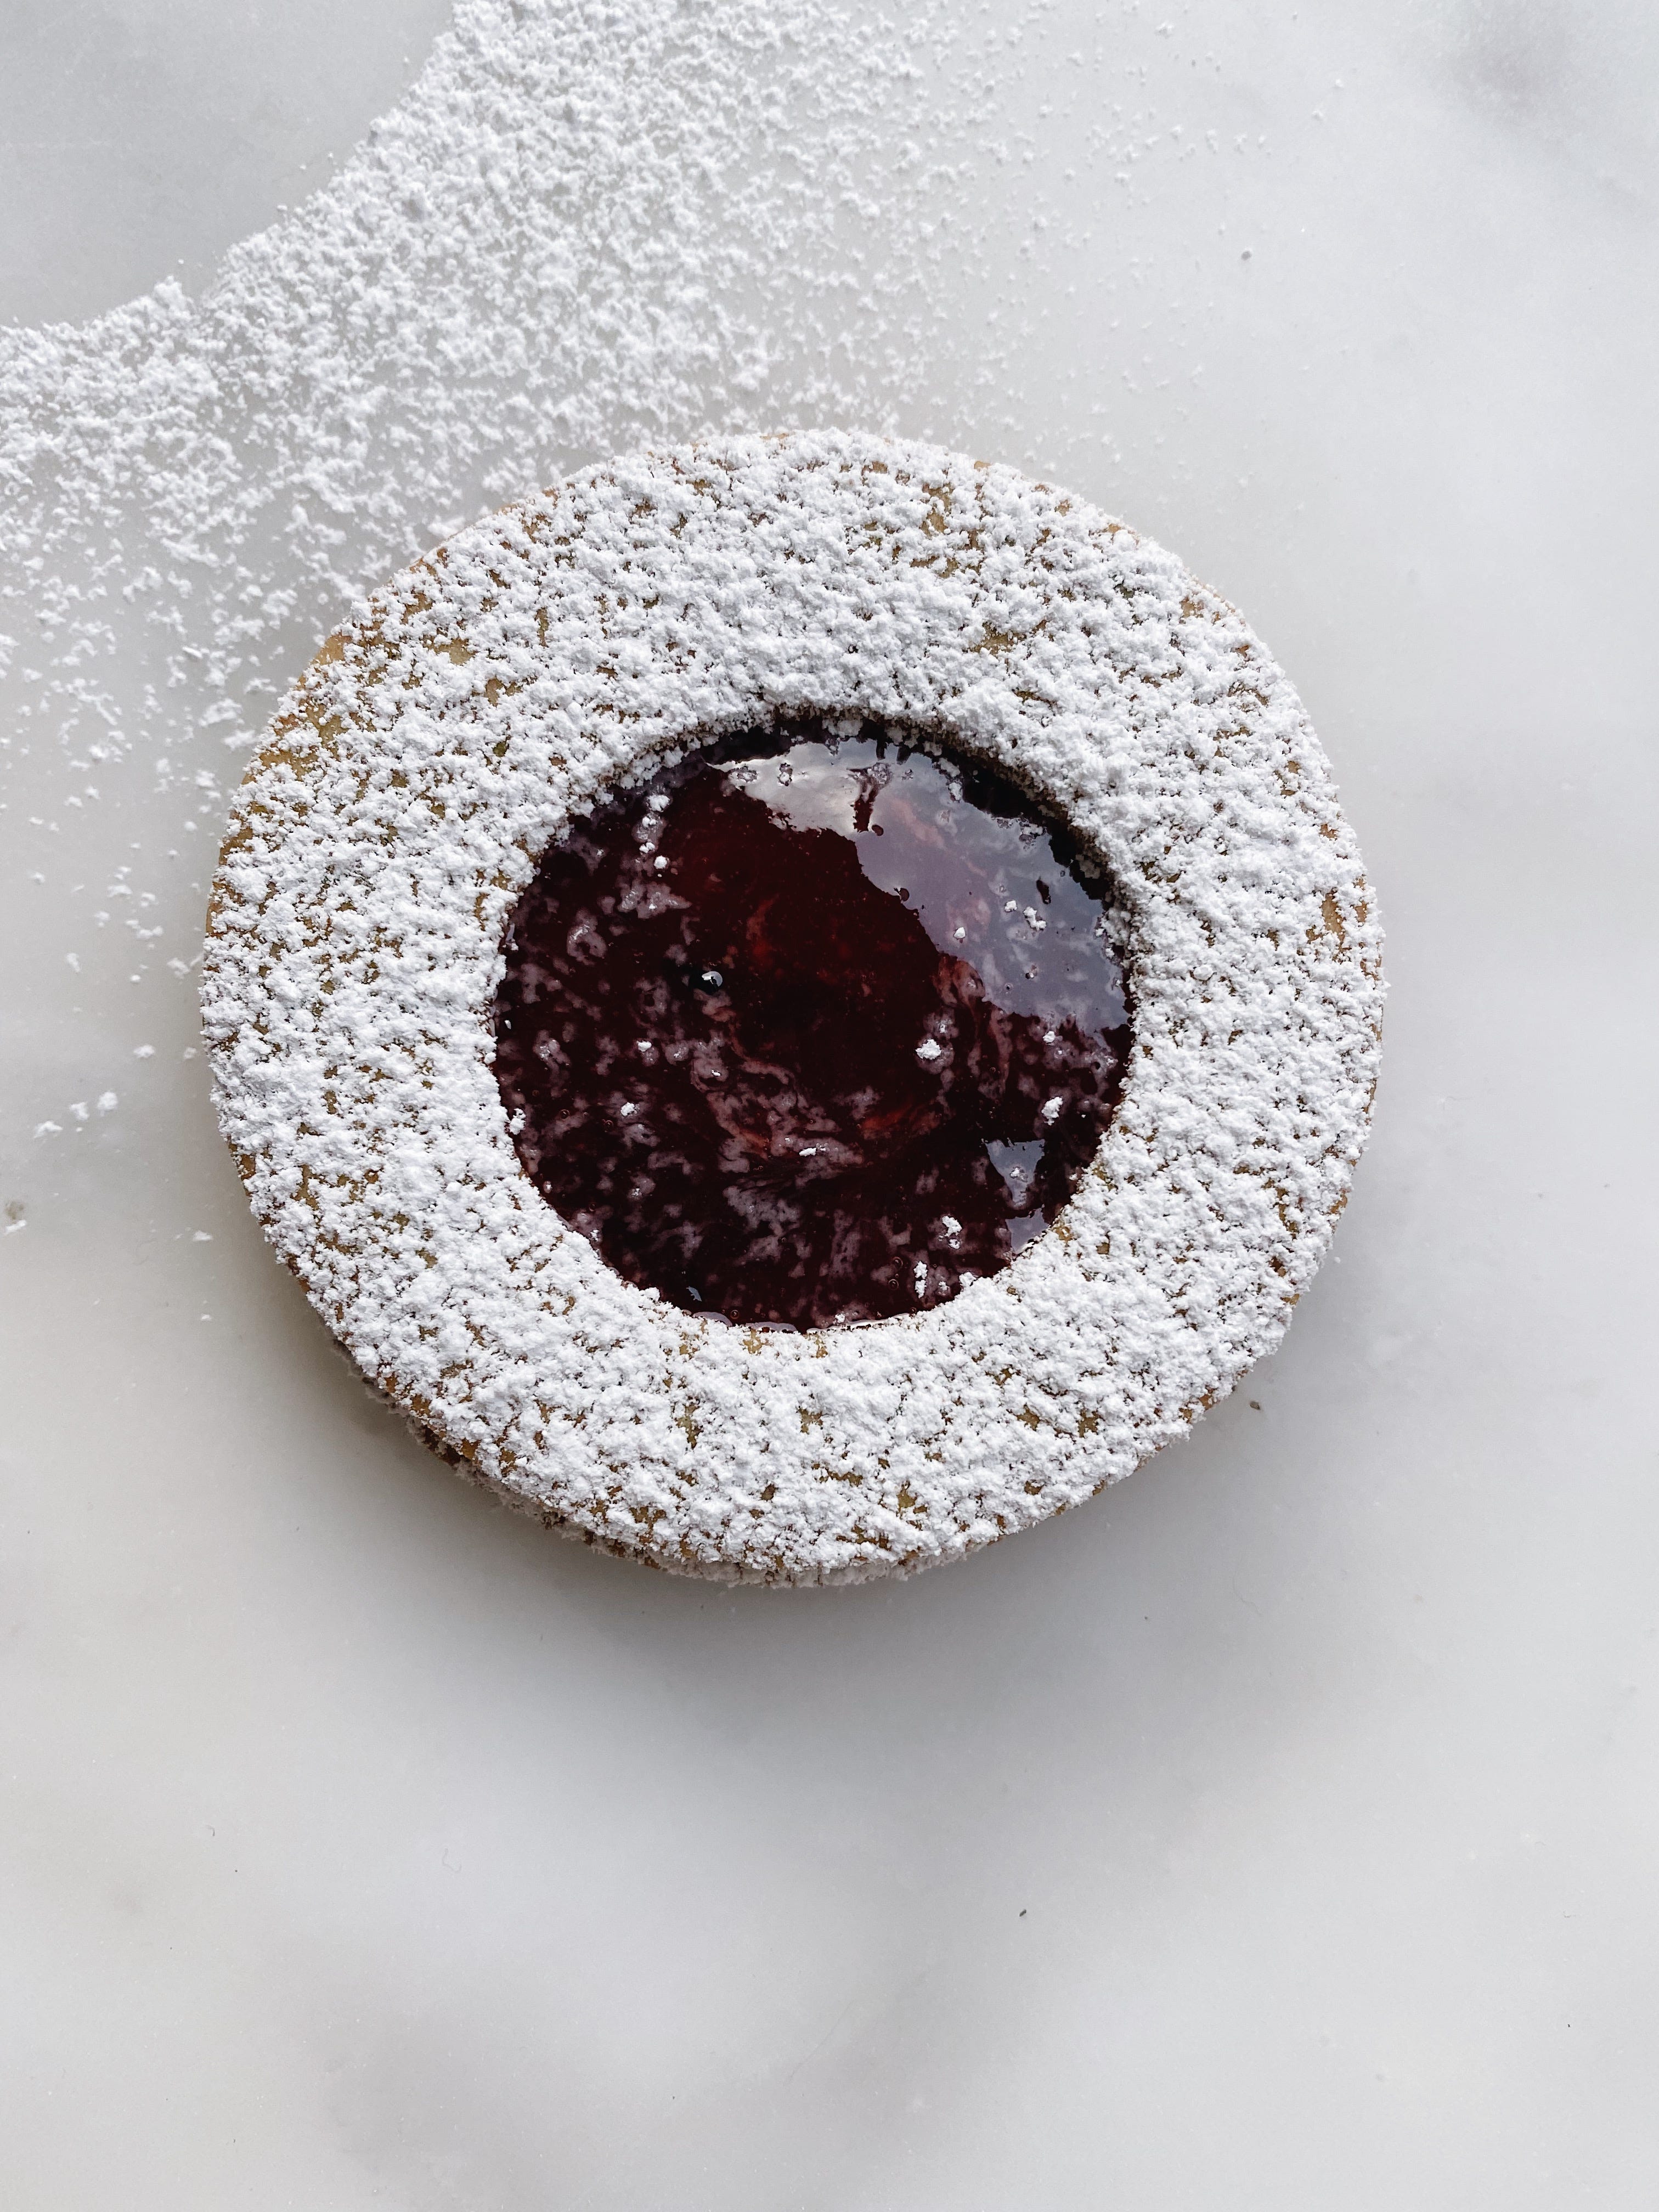
If you’d like to skip the pine but still want a green, earthy flavor, I recommend using a bit of fresh rosemary. I’d half the quantity as rosemary is extremely fragrant. Also, I used a bright and tart plum jam here which I highly recommend but apricot, strawberry or raspberry would also be lovely.
I’m off to go bake more cookies and will be back shortly to share a couple more cookie recipes with those of you who have opted for the paid subscription (thank you so much for the incredible support!)
Pine & Pistachio Linzer Cookies
1 cup (120 grams) powdered sugar
1 1/2 tablespoons fresh pine (fir or spruce work as well) needles, washed and dried
1 cup (100 grams) toasted pistachio nuts
1 cup (225 grams) unsalted butter, room temperature
1/2 teaspoon sea salt
1/2 teaspoon orange zest
2 large egg yolks
2 1/2 cups (300 grams) all purpose flour
1/2 cup (150 grams) plum jam (or other flavor)
Powdered sugar, for dusting
In the bowl of a food processor add the powdered sugar and pine needles. Pulse until the pine needles are broken up and well distributed among the sugar. Add the pistachios and process until the nuts and needles are finely minced. Next, add the butter and continue to process until creamy and quite smooth. There will still be some nutty texture in the mixture but that is quite alright, as long as there aren’t large pieces of nuts remaining.
Add the sea salt, orange zest, and egg yolks and process until smooth. Scrape down the bowl of the processor with a rubber spatula. Pulse to combine.
Add the flour then pulse until just combined. The dough is quite sticky but will firm up in the fridge. Wrap in plastic wrap or beeswax wrapping then refrigerate until firm, at least one hour.
Preheat your oven to 350*F. Line a couple of baking sheets with parchment paper.
Remove the dough from the fridge and let it sit for about 10 minutes.
Flour your surface quite liberally. You can also flour the dough directly and several times throughout the rolling out process as it will get quite sticky.
Roll out half of the dough to about 1/4-inch thickness. Cut the dough in whichever shapes you like making sure half of the cutouts contain what I like to call the jelly window; that peek-a-boo center which shows off the jewel toned jam quite nicely.
Transfer the cookies to the baking sheets and bake for 12 minutes or until golden brown around the edge. Roll the remaining dough then continue to bake until all of the dough is used.
Cool the cookies completely on a wire rack. Place a heaping teaspoon on the full cookie then cap with the cookie container the jelly window. Finish with a fine dusting of powdered sugar.
The dough will keep in the freezer for up to 3 months. You can also freeze the baked cookies but I generally wait to add the jam until I’m nearly ready to serve or gift.
ASHLEY! I had to stop reading, because I doubt you address it further down, I could see the direction changing - DID YOU FIND A SLUG COOKIE CUTTER?!! I am obviously dying to know. Also, what kind of cookie would you make with it?? 🤣